
Welcome to the ultimate guide on achieving the perfect powder brows! This makeup trend has taken the beauty world by storm, offering a softer, more natural alternative to the sharply defined brows of yesteryears. Ideal for anyone looking to enhance their brow game, powder brows mimic the look of natural brow hair with a soft, diffused finish. Whether you’re a makeup aficionado or a beginner, these pro tips will help you master the art of powder brows and achieve that coveted, flawless look.
What Are Powder Brows?
Powder brows use a specialized brow powder to fill in sparse areas, creating a fuller and beautifully shaped brow. This technique is perfect for achieving a soft, natural look, as the powder blends seamlessly into your natural brows, avoiding the harsh lines sometimes seen with pencils or pomades. It’s especially suited for those with oily skin or for individuals who prefer a more subtle, matte finish to their brows.
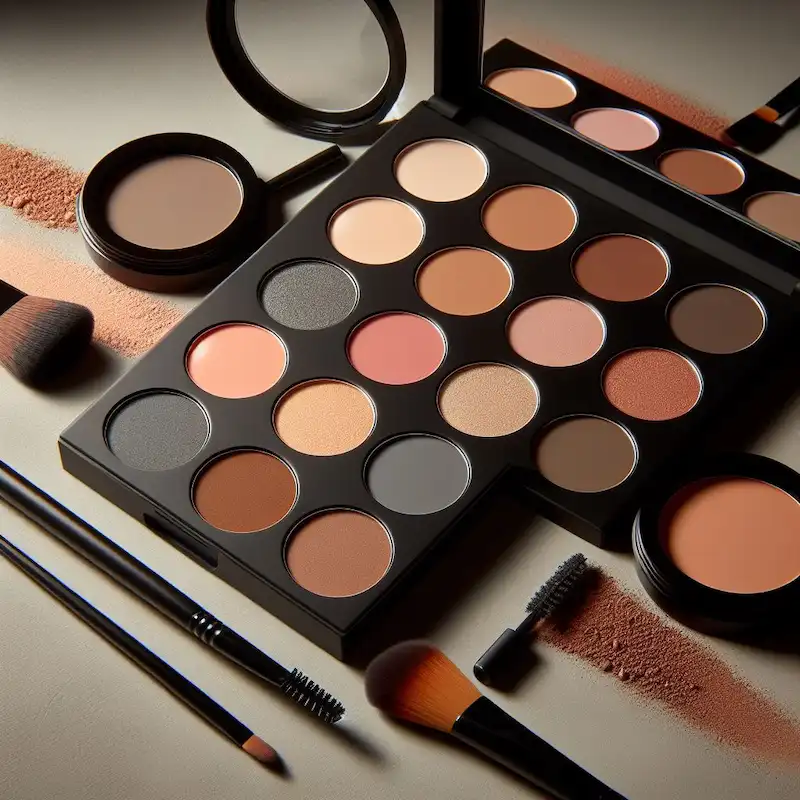
Essential Tools for Powder Brows
To get started, you’ll need a few key tools:
- Brow Powder: Choose a color that closely matches your natural brow hair. If you’re between shades, opt for the lighter one, as you can always build up intensity.
- Angled Brow Brush: A small, angled brush will give you precision and control when applying the powder.
- Spoolie Brush: Use this to blend the powder and groom your brows into shape.
- Brow Stencil (Optional): Great for beginners or those looking for a specific shape.
Step-by-Step Application Guide
1. Prep Your Brows
Start with clean, dry brows. Comb them into place with a spoolie brush to see their natural shape and where you might need to fill in.
2. Outline Your Shape
If you’re using a stencil, position it over your brow and lightly outline with the angled brush. Without a stencil, freehand your desired shape, starting at the bottom of the brow and using light, feathered strokes.
3. Fill In
Using the same angled brush, apply the powder in short, light strokes to mimic the appearance of natural hairs. Begin at the tail of the brow, where brows are naturally denser, and work your way forward. This technique ensures a gradient effect that looks more natural.
4. Blend and Shape
With the spoolie brush, gently blend the powder throughout your brows, softening any harsh lines and ensuring the color is evenly distributed. Then, use the brush to shape your brows into their final form.
5. Set Your Brows
For added longevity, finish with a clear brow gel. This step is optional but recommended for keeping your brows in place and making the powder last all day.
Additional Pro Tips
- Layering: For a more dimensional look, use two shades of powder, applying the lighter shade throughout the brow and the darker shade to areas that need more definition.
- Highlighting: Apply a highlighter beneath the arch of your brow to define and lift the brow area, enhancing the overall shape.
- Sparse Areas: For gaps or sparse areas, use a fine-tip brow pen to create hair-like strokes before setting with powder for a seamless finish.
Conclusion
Powder brows offer a versatile and natural-looking option for enhancing your brow game. With the right tools and techniques, you can achieve professional-looking results at home. Remember, practice makes perfect, so don’t be discouraged if it takes a few tries to get your desired look. Embrace the process, and soon you’ll be applying powder brows like a true pro, ready to tackle any beauty challenge that comes your way.